VirtualBox is one of the best software that ease out requirement for creating virtual environments for different purposes like testing, researching, and for common daily use. Though installing and using VirtualBox on your local computer is easy, it would be a good thing to install it right in your USB drive so that you can carry your virtual machines where ever you go. That way, you don’t have to lose your virtual environment and can easily use your favorite operating system in public places without compromising the security. Creating portable VirtualBox isn’t hard, here is how you can install VirtualBox in your USB drive.
Creating Portable VirtualBox
Creating a portable variant of the official VirtualBox is really easy than you think it is. First off, head over to the Portable-VirtualBox website and download the installer. Once downloaded, execute the downloaded file. Since the executable is self-extracting, select he location of the extraction (like your pen drive) and click on the “Extract” button. For instance, I’ve selected “Programs” folder located on the C:\ drive.
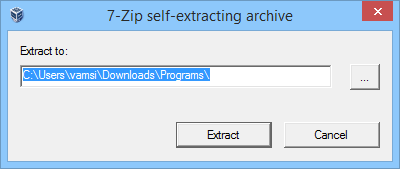
Note: It is recommended that you select the location carefully as this is where you are going to install the Portable VirtualBox. Of course, you can move the files if needed, but it is still better to choose a correct location before hand.
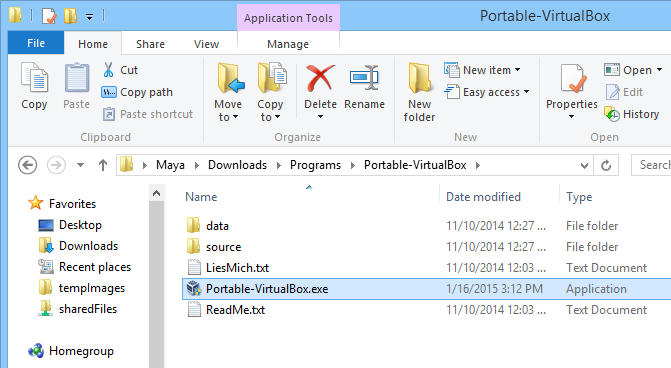
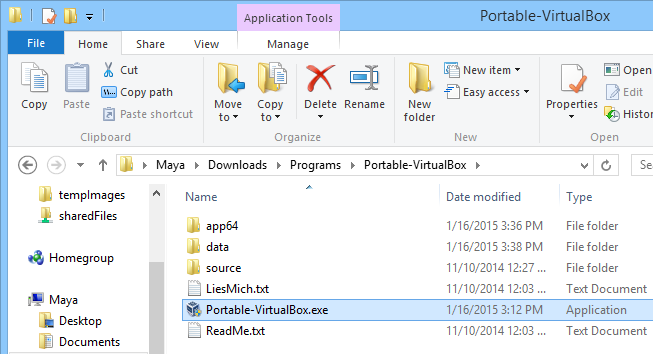
Once extracted, open the location in your Windows File Explorer and launch the application “Portable-VirtualBox.exe.”
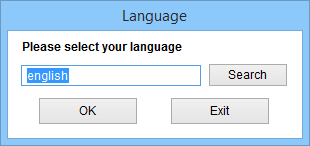
After launching the Portable VirtualBox application, select the language of your choice and click on the “Ok” button to continue the installation.
The above action will open the “Extract and/or compress” window. Here, click on the “Download Installation Files of VirtualBox” button. If you have already downloaded the VirtualBox installation file from the VirtualBox official site, then enter the path of that downloaded file by clicking on the “Search” button. But the recommended way is letting the Portable VitualBox download the required files.
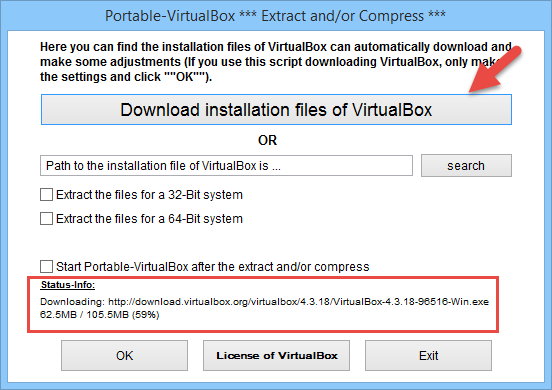
As soon as you click on the download button, you will see the status info at the bottom of the window. The download may take time to complete depending upon the internet connection speed. Once the download is complete, select the either of the check boxes “Extract the files for a 32-bit system” or “Extract the files for a 64-bit system” and click on the “Ok” button. For instance, I’ve selected the 64-bit checkbox as my Windows machine is based on 64-bit architect,
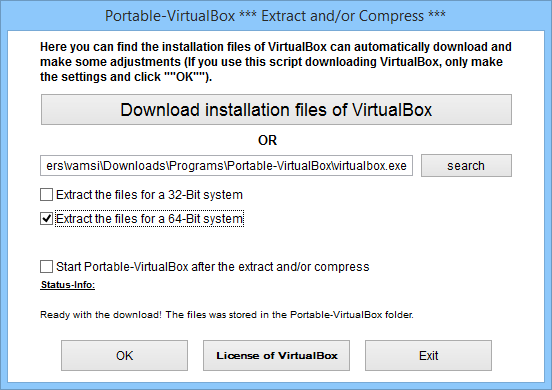
Once the extraction has been completed, navigate to the Portable VirtualBox folder again and double-click on the “Portable-VirtualBox.exe” file.
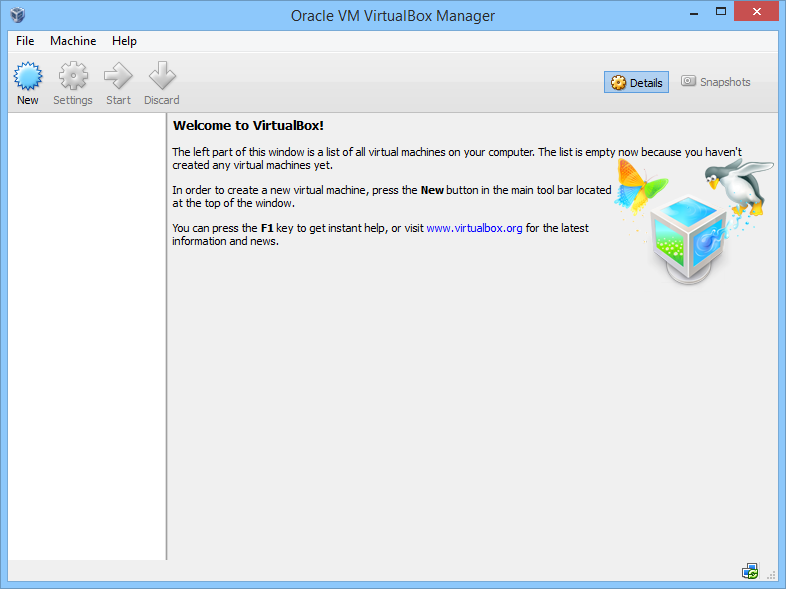
This time, the above action will launch the VirtualBox application. From this point forward, you can create and manage all your virtual machines using the portable VirtualBox. If you ever want to change the VirtualBox settings, you can do so using the native “VirtualBox Settings” option.
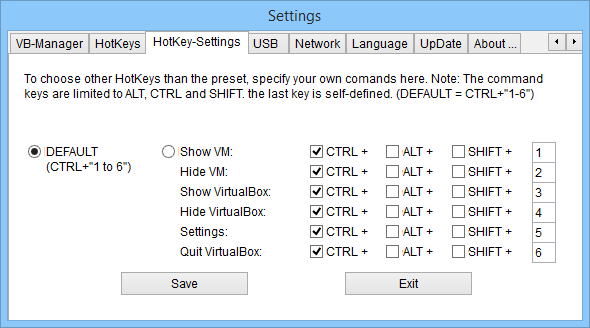
While the VirtualBox is running, Portable VirtualBox application will sit silently in your taskbar. If you want to change how Portable VirtualBox functions, simply right-click on the taskbar icon and select the option “Settings.” Alternatively, you can press the keyboard shortcut “Ctrl + 5.”
![]()
Portable VirtualBox contains all sorts of essential settings like the HotKey Settings, USB Settings, Network Settings, etc. So, change the settings as required and click on the “Save” button to save the changes. That being said, only change the settings if you know what you are doing as the application just works without any manual intervention.
That’s all there is to do and it is that easy to install VirtualBox portably. Even though I have installed portable VirtualBox locally on my computer, you can always install it in your thumb drive so that you can have your own virtual machines on the go.
Hopefully that helps and do comment below if you face any problems while installing the Portable VirtualBox or just to share your thoughts and experiences on using this free software.

