If you are using a computer for long enough then you might have faced with a situation where you need to quickly take a screenshot in Windows 10. There may be several reasons for this like to an error message, to quickly capture something that is being displayed on your computer screen, etc.
No matter what the reason is, it is very easy to take a screenshot in Windows 10. In fact, you don’t actually have to use any third-party software to take a screenshot in Windows 10. In case you are wondering, here is how to take a screenshot in Windows 10.
Note: though I’m showing how to take a screenshot in Windows 10, the below method is applicable to almost any Windows version.
Take a Screenshot in Windows 10 – Full Screen
It is way easier than you think to take a screenshot in Windows 10. To start off, make sure that you are on the screen that you want to take a screenshot in Windows and then simply press the keyboard shortcut
1. To start off, make sure that you are on the screen that you want to take a screenshot in Windows and then simply press the keyboard shortcut Win + PrintScr.
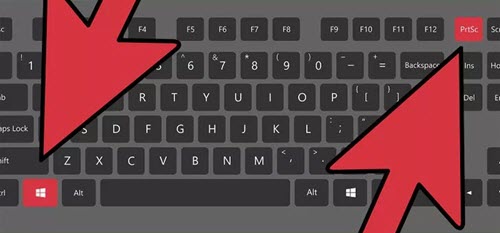
As soon as you do that, you will see a visual cue letting you know that you took a screenshot in Windows. The good thing is, the screenshot will be automatically saved to the Pictures folder.
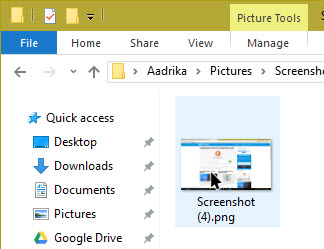
2. To see the file, simply navigate to the following location. Don’t forget to replace [username] with the actual username. You can simply paste the below folder location in the Run dialog box.
C:\Users\[username]\Pictures\Screenshots
Alternate Method to Take a Screenshot in Windows 10
1. If for some reason you are not able to use the above keyboard shortcut then we can use the paint application to save the screenshot. To do that, simply press the PrintSrc key on your keyboard.
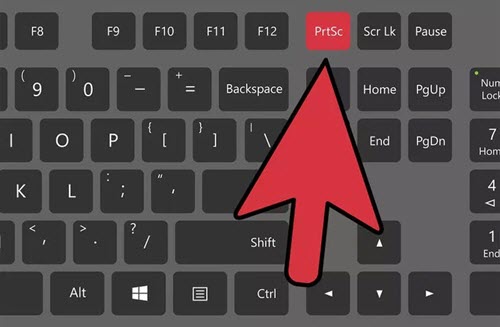
With the above action, the screenshot has been captured and copied to the clipboard. Unlike the above procedure, you will not get any kind of notification or the visual cue letting you know that the screenshot has been taken.
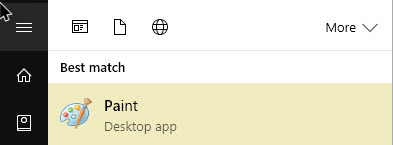
2. Now, click on the start button, search for “Paint” and then open it.
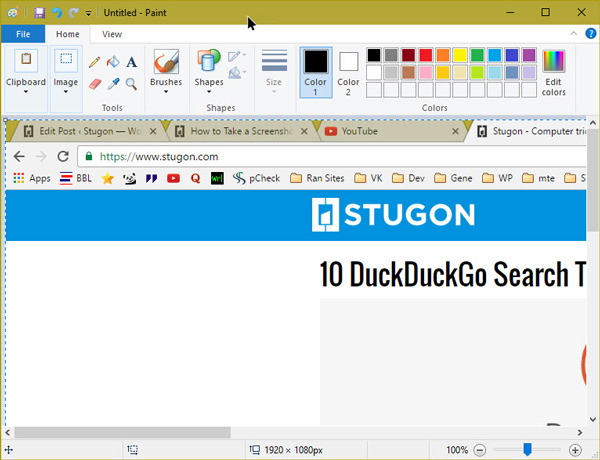
3. Once opened, press the keyboard shortcut Ctrl + V to paste the screenshot. Once you are done, you can see your screenshot image in the Paint window. If you want to, you can use various options given in MS Paint to edit the screenshot taken Windows 10.
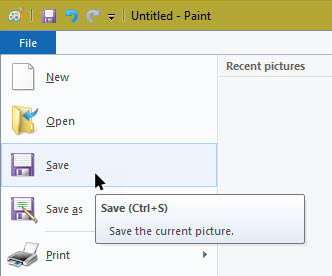
4. Once you are satisfied with the image, go to “File” and then select the option “Save.”
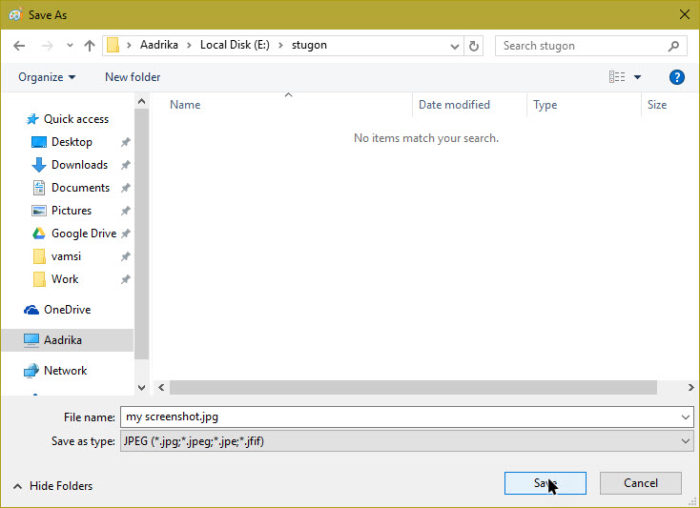
5. This action will open a new window. Here, select the location where you want to save the image and image format type. In my case, I’m selecting the JPEG format. Once you are done, click on the “Save” button. Your screenshot image is now saved on your PC.
Take a Screenshot in Windows 10 – Only Active Window
1. If you do not want to capture the whole screen or just want to capture the active window then press the keyboard shortcut Alt + PrintScr. This action will only capture the active window and ignores everything. A pretty helpful method if you want to capture an error message or something of that sort.
2. Once you are done capturing, paste it in the MS Paint application as detailed above and save it.
That’s all there is to do and it is that simple to take a screenshot in Windows 10. Do comment below sharing your thoughts and experiences about using the above methods to take a screenshot in Windows 10.
