
VMware Player or Workstation makes it easy to create and manage a virtual environment out of the box. In the virtual environment, you can pretty much install any operating system like Windows, Linux or Mac OS. Even though the installation of a guest operating system takes just a few clicks, you need to install VMware Tools. Installing VMware Tools enables you to have decent graphics and to use some of the advanced VMware functions like shared folders, drag and drop support, etc.
Sure, VMware automates the process with the click of a button, but there will be times when you need to install or update VMware tools manually. If you are wondering, here is how you can install VMware Tools manually in Ubuntu.
Note: this manual installation method works with any Ubuntu derivatives and the procedure is also same for all the Linux variants. The commands may vary, though.
Install VMware Tools manually
1. The first thing you need to do is to update your Ubuntu guest OS to find and install any possible updates and the updated Linux headers. To do that, open up the Ubuntu terminal by pressing CTRL + ALT + T and execute the below command.
sudo apt-get update && sudo apt-get install build-essential linux-headers-$(uname -r)
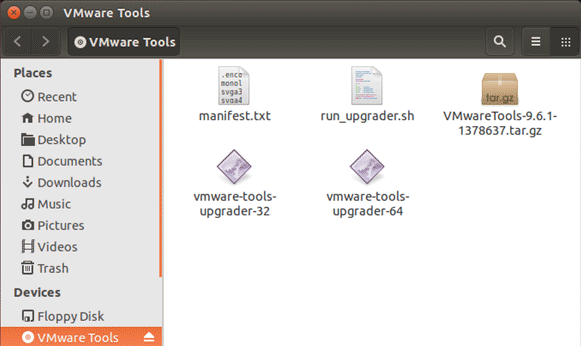
2. Once you are done updating and installing the Linux headers, navigate the VM tab on the virtual machine and select the option “Install VMware Tools.” This action will insert the VMware tools ISO into the virtual CD or DVD drive. In fact, if you navigate to the media folder, you will see the contents of the inserted virtual disk.
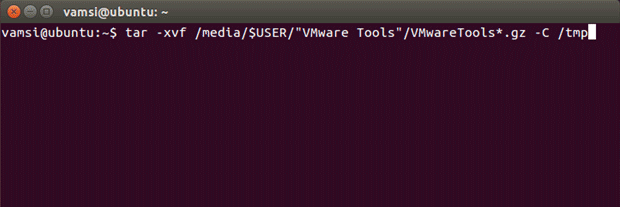
3. Now extract the contents of the disk to a temp folder. To do that, execute the following command by opening the terminal (CTRL + ALT + T).
tar -xvf /media/$USER/"VMware Tools" /VMwareTools*.gz -C /tmp
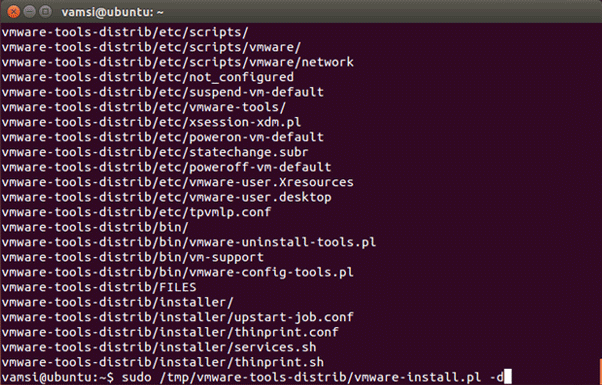
4. Once extracted, enter and execute the below command to commence the installation procedure.
sudo /tmp/vmware-tools-distrib/vmware-install.pl -d
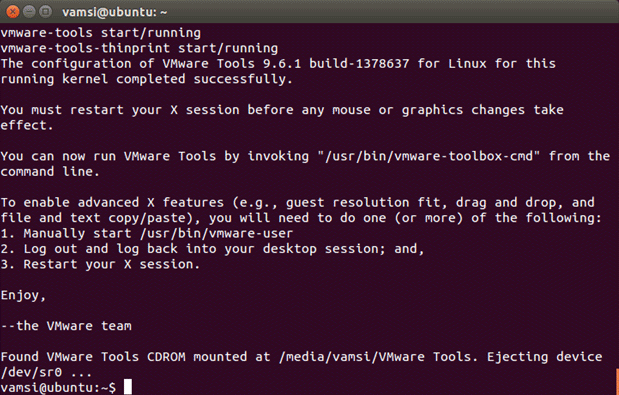
As soon as you press the enter button, Ubuntu starts installing VMware Tools as instructed. Once completed, you will see a screen something like the below one. After installing VMware tools, don’t forget to restart your virtual machine to make the changes take effect.
That’s all there is to do and hopefully that helps. Do comment below sharing your thoughts and experiences about using the above method to install VMware Tools in Ubuntu and other derivatives.