
It is a known fact that the virtual machines are infinitely flexible with their feature sets. Besides from all the features that VirtualBox has to offer, the ability to take snapshots of your current virtual machine is one of the best features as it enables you to quickly restore your virtual machine to known good state. Snapshot in VirtualBox is kinda like a restoration point but saves all the current configurations or settings, and software installed on a virtual machine. Whenever you restore a snapshot, VirtualBox simply overwrites the current state with the snapshot.
Since the Snapshot feature in VirtualBox can easily restore your virtual machine, it will be a huge time saver whenever you are trying to do a bunch of stuff like experimenting new software or settings, using legacy systems like Windows XP, etc. Unlike in previous versions, VirtualBox improved the Snapshot feature and here is how you can create and restore snapshots in VirtualBox as required.
Create Snapshots in VirtualBox
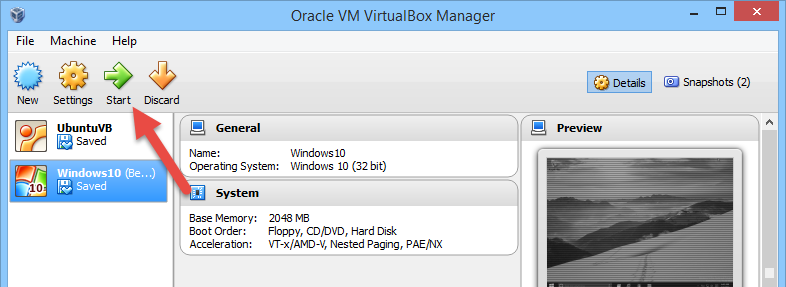
Creating a snapshot in VirtualBox is fairly simple and straight forward. First off, turn on your virtual machine by selecting the virtual machine on the main screen and clicking on the “Start” button.
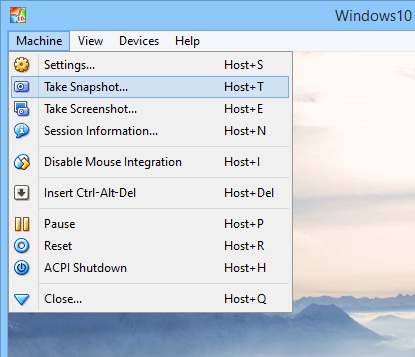
Once the machine has been started, select the option “Machine” in the top menu and again select the option “Take Snapshot.” Alternatively, you can use the keyboard shortcut “Host + T.”
Note: by default, the Host key is the Right Ctrl on your keyboard. If needed, you can change the default host key in the VirtualBox preferences.
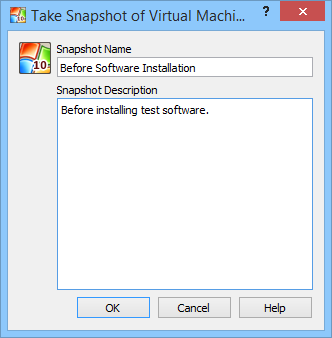
The above action will open “Take snapshot of virtual machine” window. Here enter the relevant snapshot name and description so that you can easily identify the said snapshot in the future. Once entered, click on the “Ok” button to continue.
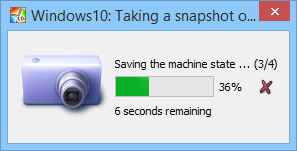
As a result of the above action, VirtualBox starts creating the snapshot of your virtual machine.
Once the snapshot has been created, you can access it from the main window by clicking on the “Snapshots” button. By default, VirtualBox stores all your snapshots in the virtual machine folder itself.
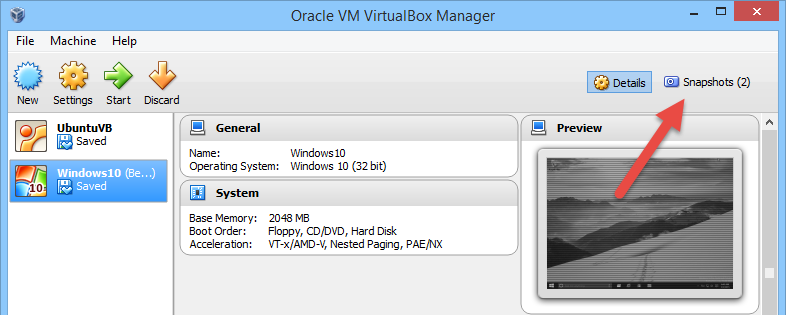
Moreover, you can create as many snapshots as you need and the VirtualBox displays the number of snapshots next to the button itself.
Restore Snapshot in VirtualBox
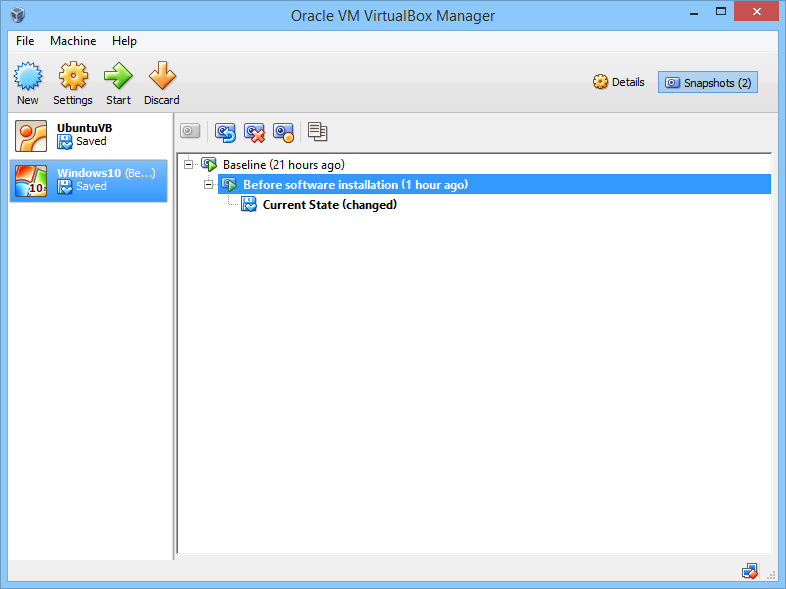
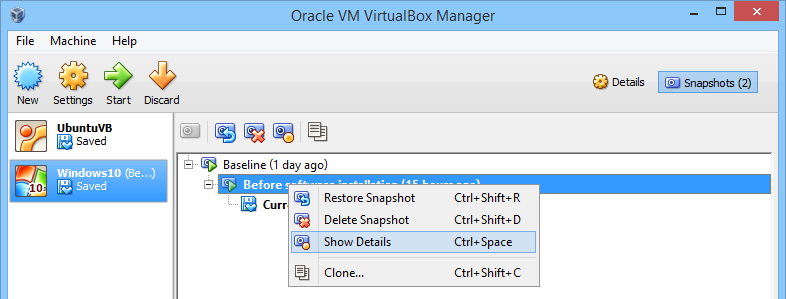
To restore a snapshot in the VirtualBox, click on the “Snapshots” button located on the upper right corner of the home screen. This action displays all the available snapshots in a nice tree view.
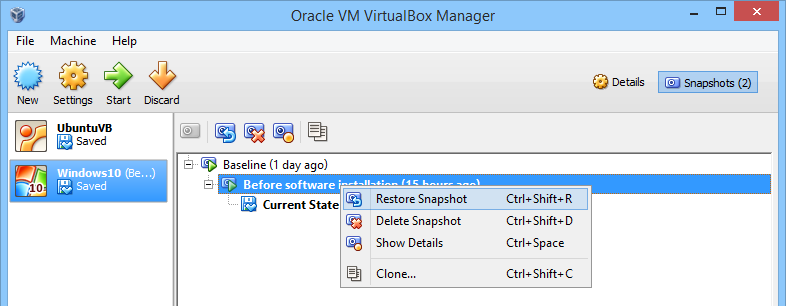
The good thing about this is that you can restore any snapshot of your requirement without disturbing the other snapshots in the tree. Now to restore a snapshot, right click on the snapshot name and select the option “Restore Snapshot.” Alternatively, you can also press the keyboard shortcut “Ctrl + Shift + R.”
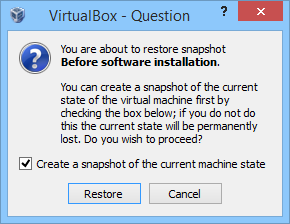
The above action will open a confirmation window. Here click on the “Ok” button to restore the selected snapshot. If you don’t want to automatically create a snapshot of the current state, deselect the checkbox “Create a snapshot of the current machine state.”
If you want to know more details of a snapshot, right-click on the snapshot and select the option “Show details.”
The above action will pop-up the details window where you can find all the details of the selected snapshot like the base memory, system configuration, name, description, etc.

That’s all there is to do and it is that easy to create and restore snapshots in VirtualBox.
Hopefully that helps and do comment below sharing your thoughts and experiences about using the snapshots feature in the VirtualBox software.