Google Drive is one of the most popular cloud storage services out there with awesome features and the ability to sync with your Gmail account, not to mention the ease-of-use, speed, the storage capacity.
Though introduced in back April 2012 for Windows, Google Drive has no official software supporting Linux platform. Of course, you can always use the web version of Google Drive from the browser. But, having an app installed on your Ubuntu machine makes things much easier. Though many developers have come up with a few unofficial Google Drive apps for Linux, they seldom work. However, OvergGrive is an exception. OverGrive is one of the most popular apps to add Google Drive to Ubuntu. In this article, I will show you how to install and configure OverGrive for Google Drive in Ubuntu.
Note: though I’m showing it in Ubuntu, the instructions are same for other Ubuntu derivatives. Also, this is a premium application but is available as a trial version for you to try.
Install OverGrive in Ubuntu
To start off, download the latest version of OverGrive from the official site.
Once the software has been downloaded, press Ctrl + Alt + T to open the Terminal. You can also search and open Terminal from the Dash.
Now, execute the below command to add the OverGrive repository.
sudo add-apt-repository universe && sudo apt-get update

In the terminal window, execute the command below to navigate to the Downloads folder. Usually, this is where you will find the downloaded OverGrive executable. You can also use the ls command to list all the files and folders in the directory.
cd Downloads

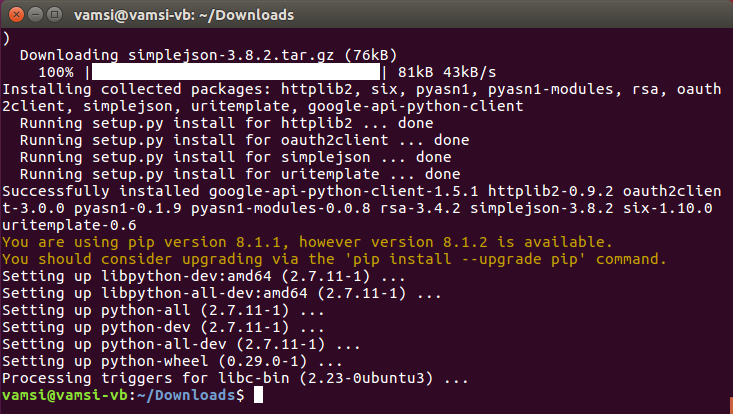
Now, execute the command below to install the application. Don’t forget to replace the version number in the command. You can press the tab key on your keyboard to autocomplete the file name.
sudo dpkg -i overgrive_3.x.x_all.deb
If you receive any errors, simply execute the below command to automatically rectify and install the application.
sudo apt install -f

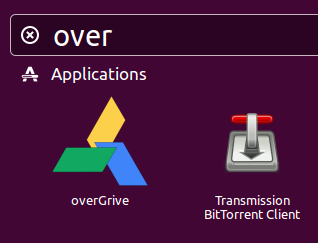
Once you are done installing, search for OverGrive in the Dash and open it.

After launching the application, click on the “Connect Account.”

This action will open the sign in page in your default browser. Sign into your Google Account to continue.
Click “Accept” to grant permission for OverGrive to access your Google Drive account.
You will see an authorization token code generated by Google on your screen, copy the unique code.

Paste the copied code next to the “Account” field and click on the button “Validate” to validate the entered code.

After the code is validated successfully, your account will be connected.

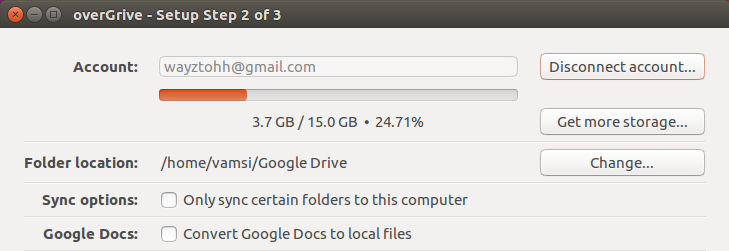
By default, OverGrive will sync all the folders and files in your Google Drive account. However, you can also select specific folders from your Google Drive account under the preferences section.
There are other options available for selecting a theme, conversion of Google documents to office file formats.
After you have set the preferences, click Start Sync.
Your files will now be synchronized to your local Google Drive folder from your Google Drive online.
Note: if the first sync does not complete it will open the OverGrive setup screen again on restart. You can simply select Start Sync again to complete the synchronization process.
Hope you found our guide useful. If you’ve faced any problems following the above procedure, do let me know in the comments section below.

