In this post, I will show you how to create Windows 10 recovery drive. There will be times when your operating system got corrupted and won’t boot no matter what you do. The reasons for a corrupted operating system are things like sudden power failures, malware, messing with OS files, etc. To make matters worse, most computers don’t have a Windows recovery drive to help you in these situations. Thankfully, it is very easy to create your own Windows recovery drive and repair Windows 10. Without further ado, let me show you how to create Windows 10 recovery drive in few simple and easy steps.
A Few Things Before You Proceed
1. The process requires you to have a USB drive. The USB drive should be at least 8GB in size.
2. Though I’m showing this in Windows 10, the Windows recovery drive procedure is same in Windows 7 and 8.
Create Windows 10 Recovery Drive
Creating Windows recovery drive is fairly simple. The system recovery drive gives you the access to advanced startup options to troubleshoot and restore the Windows operating system. To create a Windows 10 recovery drive, we are going to use an inbuilt Windows tool called “Recovery Media Creator.”
Before doing anything, plug in your USB drive. As I said before, make sure that the USB drive is at least 8GB or more. Since the recovery drive creation process formats the thumb drive, make sure that there is no data in it.
To get access to Windows recovery drive tool, open the start menu and search for “create a recovery drive.” Once you see the recovery drive utility in the search results, press the enter button. to open “Recovery Media Creator.”

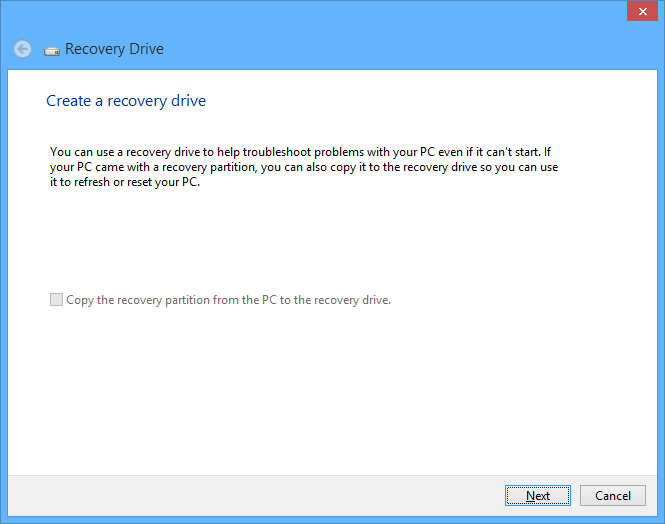
The above action will open the “Recovery Media Creator” window. Here, click on the “Next” button to continue.
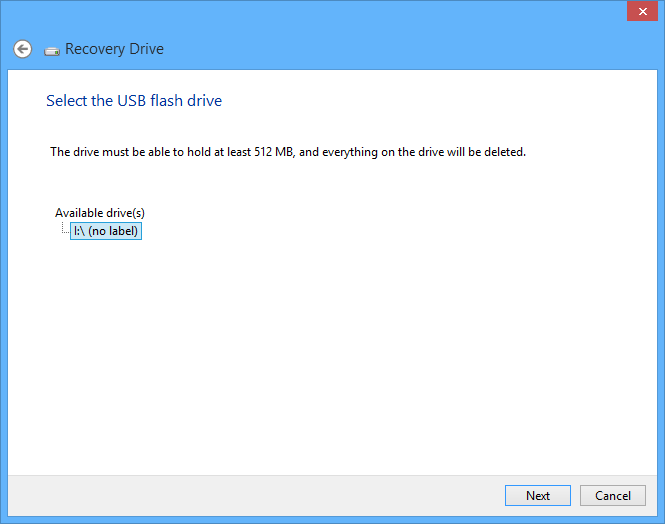
Here in this window, select your USB drive and click on the “Next” button to continue.
Now Windows will display a little warning message stating that all the data in the USB drive will be wiped out. So make sure that there is no important data that you need. Once you have confirmed that, click on the “Create” button to continue.
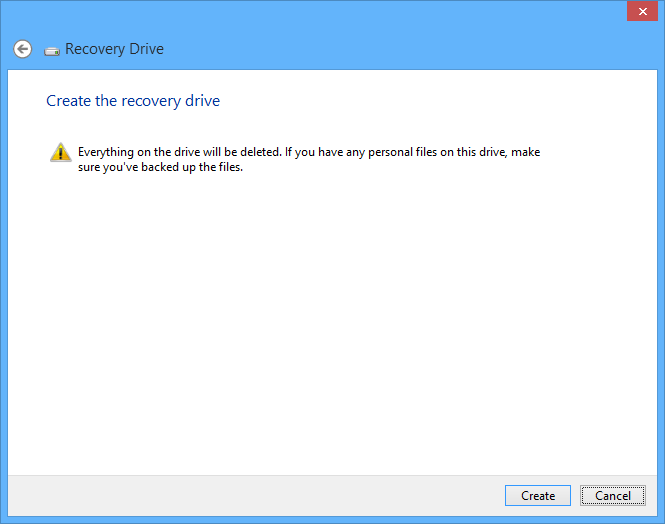
As soon as you click on the create button, Windows will start creating the recovery drive. Just sit back and wait as this process may take some time.
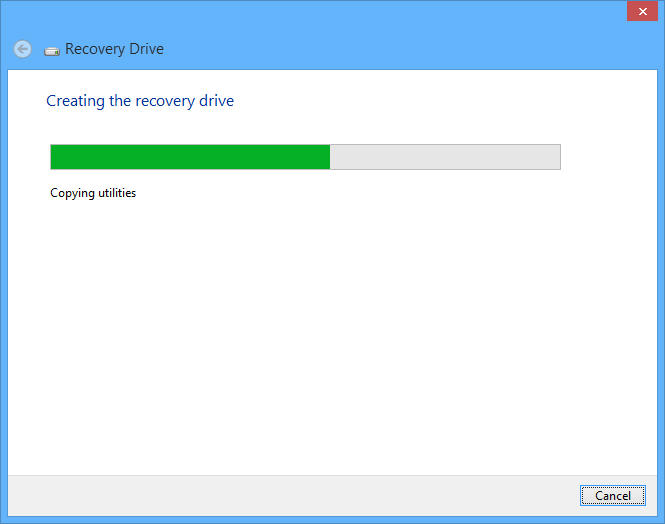
Once Windows is done creating the recovery drive, click on the button “Finish” to close the window. Unplug the USB drive and you are good to go.
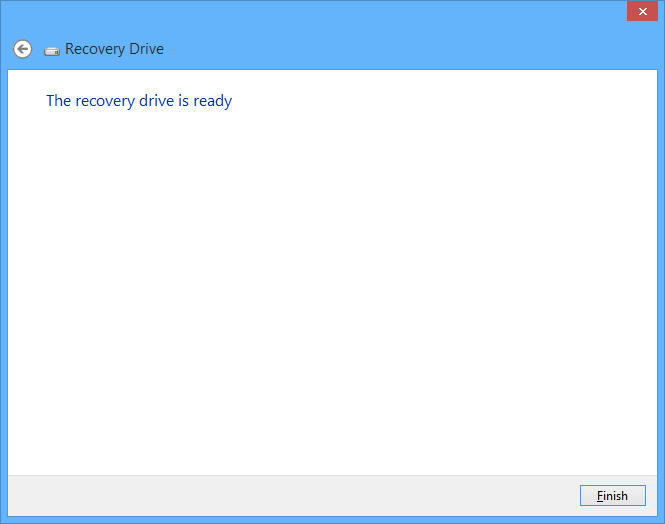
From this point forward, whenever you cannot boot into your system just plug in the Windows 10 recovery drive and you will be able to access all the advanced tools to fix the operating system.
That’s all there is to do. Do comment below if you face any problems while creating recovery drive or to share your thoughts and experiences about creating Windows 10 recovery drive.
