If you’ve installed Ubuntu, Linux Mint or other Ubuntu derivatives alongside Windows, then you might be familiar with the Grub Boot Loader with lets you choose the operating system when you first start your machine. By default, the Grub Boot Loader makes the Ubuntu/Linux Mint as the primary OS. If you didn’t select any other option within ten seconds, you will be logged into the primary OS. But if you are just testing a Linux distro and want to make the Windows as the default OS then changing Grub Boot order is a good thing to do. In case you are wondering, here is how you can change Grub boot order in Ubuntu or Linux Mint.
Note: even though I’m showing this in Linux Mint, this method works with any Ubuntu derivatives.
Change Grub Boot Order in Ubuntu or Linux Mint
First of, you can change the grub boot order using the terminal, but even a small mistake can be fatal. So we are going to use a GUI editor to change the grub boot order so that you don’t have to worry about all the syntax and other stuff.
1. To start off, launch the terminal either by searching for it or by pressing the keyboard shortcut CTRL + ALT + T.
2. Once the terminal has been opened, copy and execute the below commands one by one. To execute these commands, you need to have admin privileges.
sudo add-apt-repository ppa:danielrichter2007/grub-customizer
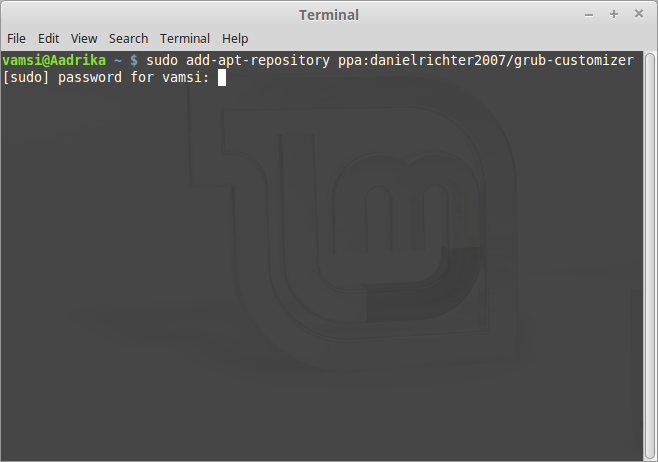
3. next
sudo apt-get update
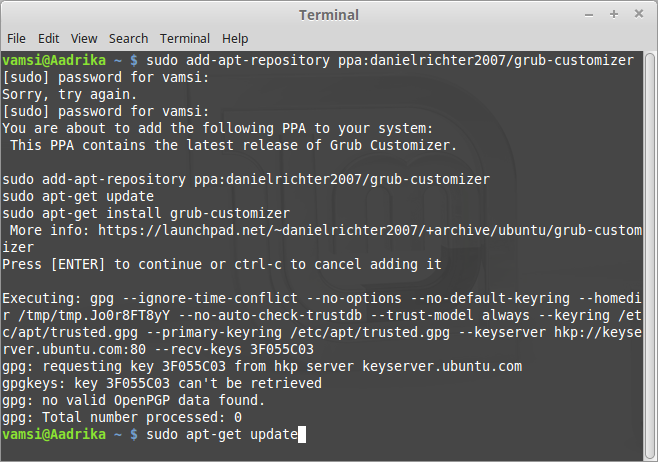
4. next
sudo apt-get install grub-customizer
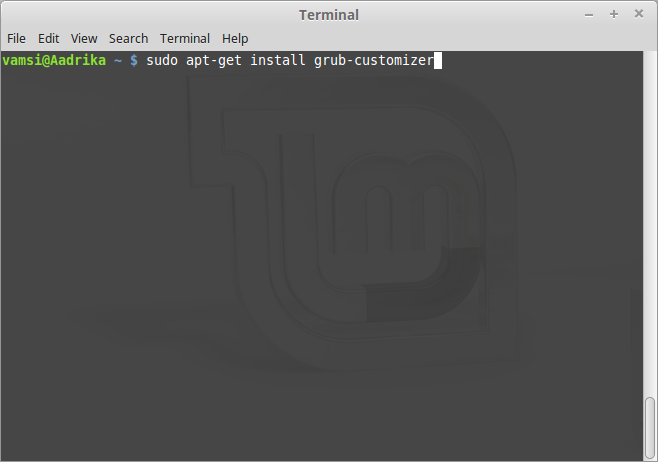
5. Once you are done installing, search for Grub Customizer and open it. You might me asked for the admin password, just enter it to open the application.

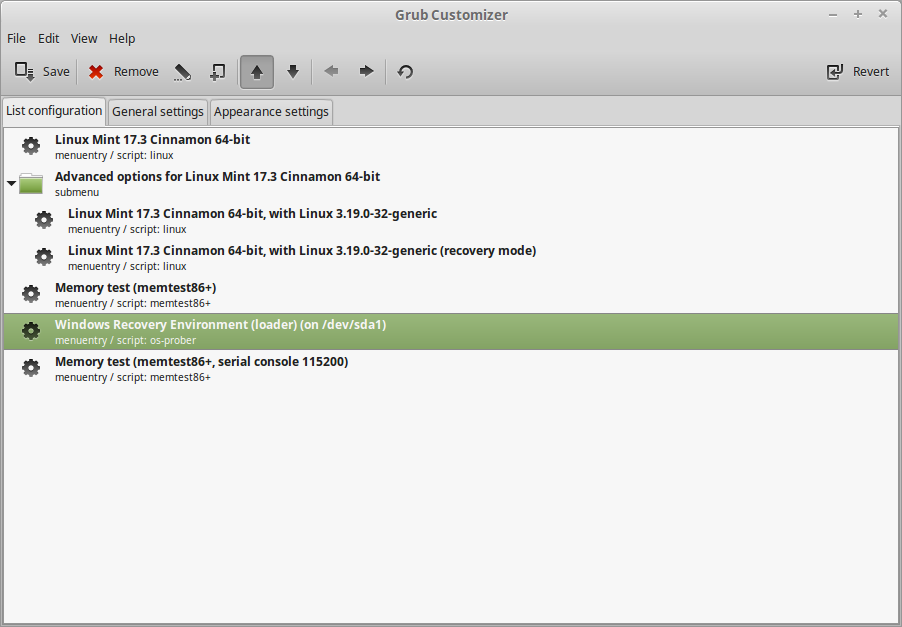
6. In the Grub Customizer, you will see all the entries that appear in the Grub boot loader. To change the order, simply select the entry you want to change and click on the arrow buttons appearing on the top navigation bar. For instance, I want to move the Windows option to the top of the list. So, I selected it and clicked on the up arrow.
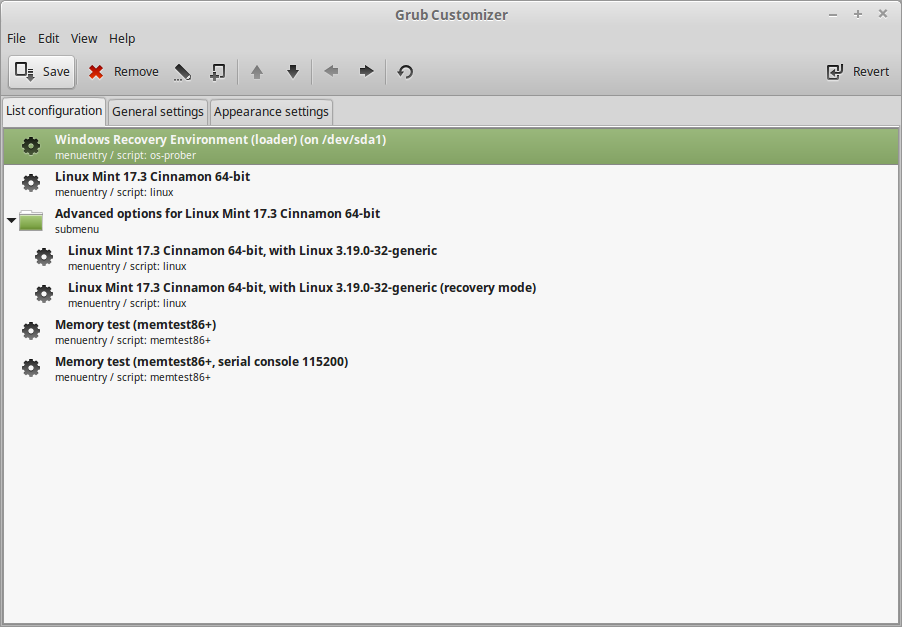
7. After moving the option, this is how it looks like. Once you are done with the change, hit the save button appearing on the top navigation bar and you are good to go.
Rename GRUB Options
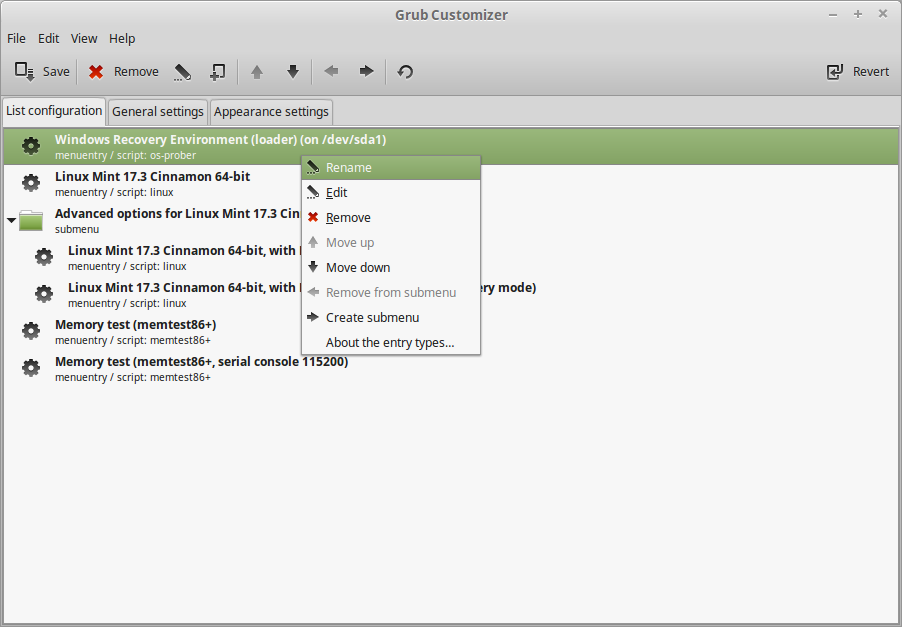
8. The good thing about Grub Customizer is that it even lets you rename the Grub options to your liking. For Example, the Windows option in Grub is listed as “Windows Recovery Environment.” I want to change it to “Windows 10.” To do that, right-click on the option and select the option “Rename.”
9. Once you are done renaming the option, press the Enter button on your keyboard to exit the edit mode and then click on the Save button to save the changes.
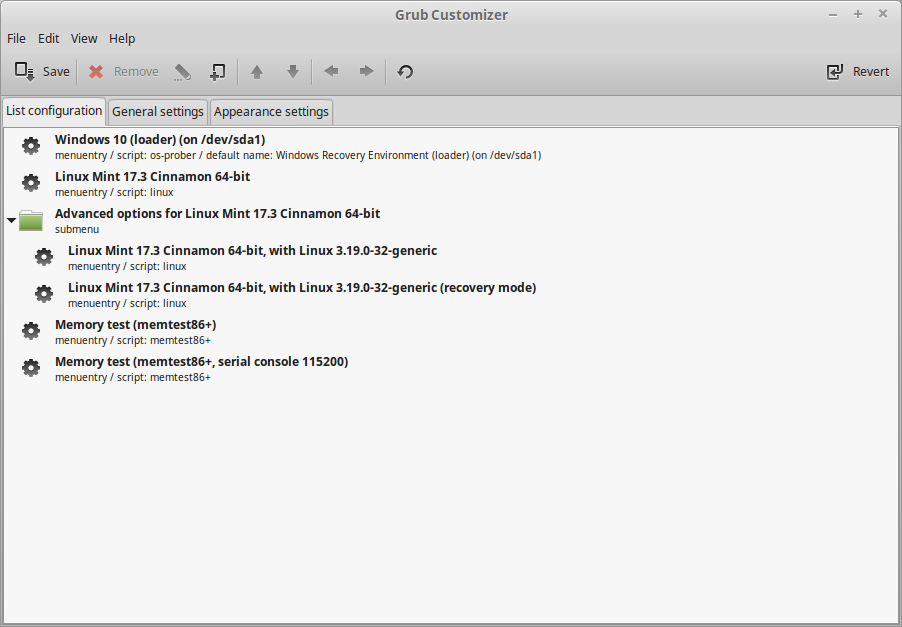
10. That’s all there is to do and from this point forward, you will see the modified Grub boot loader.
Moreover, the Grub Customizer also lets you play with other options like the number of seconds before automatically selecting the default option, colors, wallpaper, etc. Do check them out, but be careful while using all those options.
Hopefully that helps and do comment below sharing your thoughts and experiences about using Grub Customizer to change Grub boot order in Ubuntu, Linux Mint or other derivatives.

