By default, Ubuntu comes pre-installed with Firefox to meet all your browsing needs. However, most of us use Google Chrome due to its simplicity, ease of use, and integration with Google account. As good as it is, sometimes you might be facing problems while you try to install Google Chrome in Ubuntu. Those problems may include but not limited to dependency errors, archive errors, etc. To deal will all the problems just follow the below steps and you will able to properly install Google Chrome in Ubuntu within a few minutes.
Install Google Chrome in Ubuntu
To install Google Chrome in Ubuntu, all you have to do is execute a few commands in the terminal. To start off, search for Terminal in the Dash and open it.
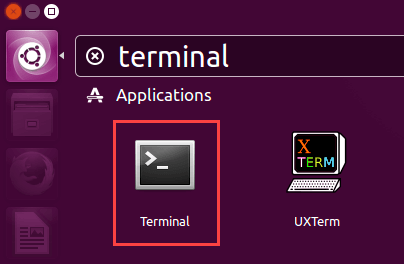
After opening the Terminal, use the below command to download Google Chrome’s latest built. The below command downloads the 64-bit version of Google Chrome.
wget https://dl.google.com/linux/direct/google-chrome-stable_current_amd64.deb
If you are on a 32-bit machine then use the below command to download Google Chrome 32-bit version.
wget https://dl.google.com/linux/direct/google-chrome-stable_current_i386.deb

The downloaded Google Chrome package will be stored in your home folder. If you want to, you can use the “ls” command to see whether the file is there in that folder or not. As you can see from the below image, I’ve actually used it verify that the Google Chrome package is actually there.
To install Google Chrome in Ubuntu, use the below command.
sudo dpkg -i google-chrome-stable_current_amd64.deb
Note: if you are not a 32-bit machine then change the file name accordingly. The default 32-bit Google Chrome package name will be “google-chrome-stable_current_i386.deb.”

Now, you will be prompted for your user account password. Just type the password and press Enter to continue.

That’s all there is to do. As soon as you press the Enter button, Google Chrome should be installed in Ubuntu. However, in some cases, the installation might fail due to dependency errors. In that case, you will receive an error message something like the below one.
To meet the dependency needs and install Google Chrome in Ubuntu properly, use the below command. This command will automatically download any and all needed dependencies.
sudo apt-get -f install
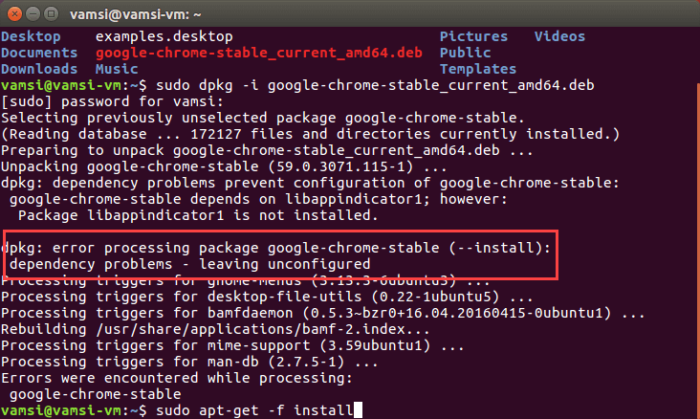
When you are asked whether would you like to download dependencies, type Y and press Enter to continue the procedure.
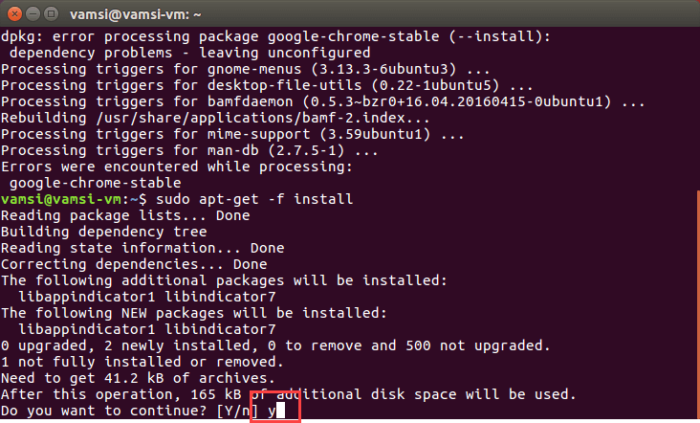
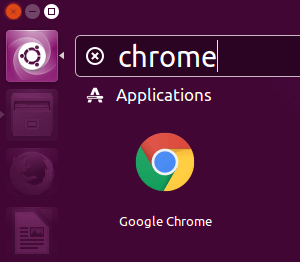
That’s it, you’ve successfully installed Google Chrome in Ubuntu. To start using Chrome, search for it in the dash and open it.
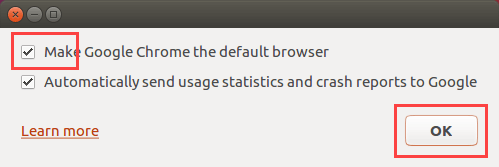
If you use Google Chrome daily, select the checkbox “Make Google Chrome the default browser” and click on the button “Ok.” This action will make Google Chrome your default browser in Ubuntu.
Do comment below sharing your thoughts and experiences about using the above method to install Google Chrome in Ubuntu.

