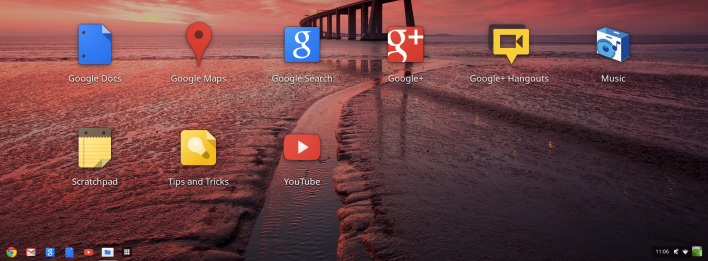
Google Chrome OS is an open source ultra-simple OS which does nothing but provides users with instant no-nonsense access to the internet to do everything you can with internet like browsing, emails, banking, etc. Google chrome OS is built around Chrome browser with full fledged integrity to internet and without the problems of full fledged operating systems like Windows,Mac or Ubuntu, etc.
Google Chrome OS will absolutely do good for normal users who just browser or check email regularly have nothing to do will all those clutter features of full fledged operating systems.
So, Before you buy your Chrome Book, Why don’t you get hands on experience with Chrome OS. Today, I’m going to show you how to install Chrome OS in your VMware player/workstation,It will be real simple. You can download VMware Player for from here.
Installing Chrome OS
As Google Chrome OS is Open-Source, You can find plenty of flavors out there but in this guide, I’m using some close identical version of Chrome OS from Hexxeh.net so you can get the feel and experience of using Chrome OS. So, Head on and download their VMware nightly build.
After downloading, Extract the zip file to a folder in your selected location. In my case, I’ve extracted the contents of the zip file to ‘G:/Chrome OS’.
After extracting navigate to the extracted folder and open a file with .vmx extension with your notepad and add the below line to the end of the file and save it. Otherwise, Chrome OS may not detect your internet connection.
ethernet0.virtualDev = "e1000"
Now open .vmx file with VMware workstation/player or just double click it to open with VMware. After opening, click ‘Power on this virtual machine’ and it may show you some warning dialogue box stating that it cannot find .vmdk file. So, click ‘Browse’ button and navigate to the folder you just extracted and select .vmdk file and click ‘Open’.
The virtual machine will automatically play and you will be welcomed with chrome OS, Here you have to select your language, keyboard layout and your network and click ‘Continue’.
That’s it, the installation is completed and it will ask you to login to your Gmail account so that you can sync all your data across your machines.
Note: Sometimes Chrome OS may not be able to connect to internet due to ‘Bridge Connection’, If this is your problem then you can simply solve this by changing VMware your hardware settings. To do so, Navigate to VM > Settings > Network Adapter and select NAT under Network Connections tab and click ‘OK’. Hopefully, This will solve the network problems.
Ok, that’s it for today and enjoy Chrome OS.

